Anna Shalomova
PPM Consultant
For Project Management Offices (PMOs), establishing smooth project management is critical to achieve effective results. However, migrating Project Online project sites is time-consuming, especially manually. It can result in delayed projects, dissatisfied stakeholders, and a potential loss of competitive advantage. The best path forward is an automated, dependable instrument that simplifies migration and produces accurate results. This post will explore how to automate your project site migration experience, allowing PMOs to transfer projects quickly, eliminate risks, and eventually scale performance.
Challenges that PMOs Face with Project Site Migration
Manual Project Online migration of project sites presents some challenges to PMOs:
- You must determine how to distribute project locations when resources are limited.
- You must migrate project sites to their correct respective places. Otherwise, you risk misplacing or losing vital information.
- Manually migrating a project site may be inefficient and error-prone, leaving project managers unsatisfied.
- Manual transfer requires more technical skills and additional expenses.
- Manual migration leads to data loss and damage to critical information.
- Your clients and stakeholders have limited time for project completion and delivery. Delays might result in a loss of market share to competitors.
PMOs seek to automate and optimize their MS Project Online migration scenarios to ensure scalable performance. To accomplish this, they require a dependable solution. FluentPro FluentBooks is the best tool on the market for Project Online migration.
Why You Should Choose FluentPro FluentBooks
FluentPro FluentBooks is an excellent software suitable for PMOs, providing robust automated features for migration and configuration. It offers the option of a full or partial migration of your project site.
Unlike other Microsoft Project Online migration solutions, FluentBooks identifies and migrates missing site templates essential to your project. All necessary components, including resources, custom fields, groups, security, and lookup tables are correctly migrated.
FluentBooks allows you to:
- Migrate between Project Server 2010/2013/2016/2019 and Project Online versions.
- Migrate project sites and SharePoint content.
- Migrate from on-premises to Project Online.
- Make PWA comparison.
- Merge PWAs.
- Edit projects, custom fields, lookup tables in bulk.
- Publish projects in bulk.
- Export to and import from Excel.
- Do configuration audits.
How to migrate Project Sites to different Site Collections
Step 1 – Verify Permission Mode of the source Site Collection
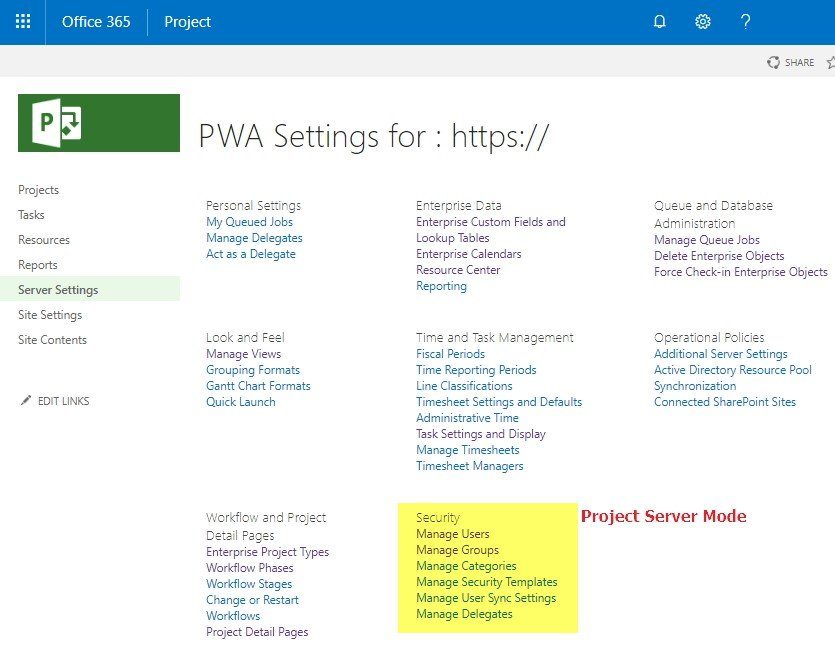
The source Site Collection should be in Project Server Permission Mode to create a Subsite in a different Site Collection. If you use SharePoint Permission Mode, this feature will not be available.
To check the Permission Mode that is currently used, open the PWA (Server) Settings in your PWA. If there’s a Security section in the list of the available settings, your PWA is in Project Server Permission Mode. If not, then SharePoint Mode is on.
To change between permission modes:
1. Sign in to Office 365 with your admin account and go to the SharePoint admin center.
2. Hover the cursor over the URL for the Project Web App site collection that you want to change, and then select the check box that appears to the left of the URL.
3. Select Project Web App > Settings on the ribbon.
4. Choose Project Permission Mode and select OK.
Please note: switching between SharePoint Permission Mode and Project Permission Mode deletes all security-related settings. If you switch from SharePoint Permission Mode to Project Permission Mode, you’ll need to configure your security permissions structure in Project Online manually.
Step 2 – Verify settings in source and target Site Collections
First, you need to check that both environments are ready for such a transfer:
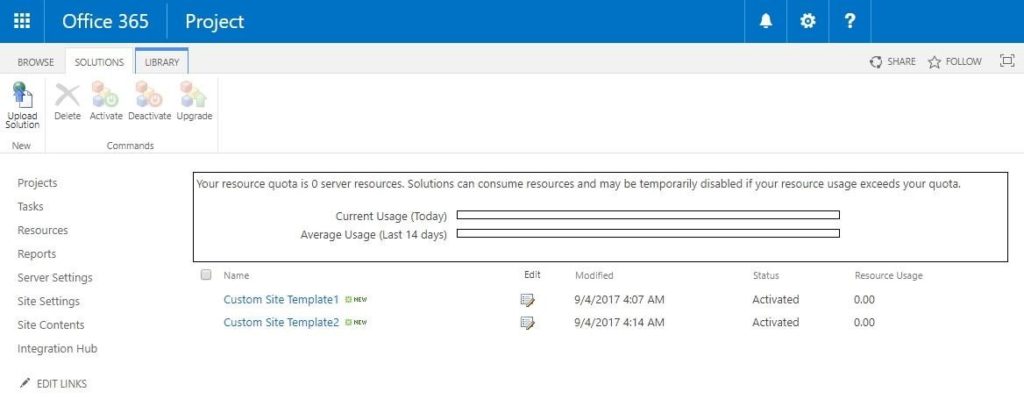
1. If custom Site Templates are used for Subsites, ensure they exist in the target Site Collection – Site Settings -> Solutions.
Note – If the required Site Template is missing, it is also possible to transfer it using FluentBooks.
To do that, follow the steps outlined in the two articles below:
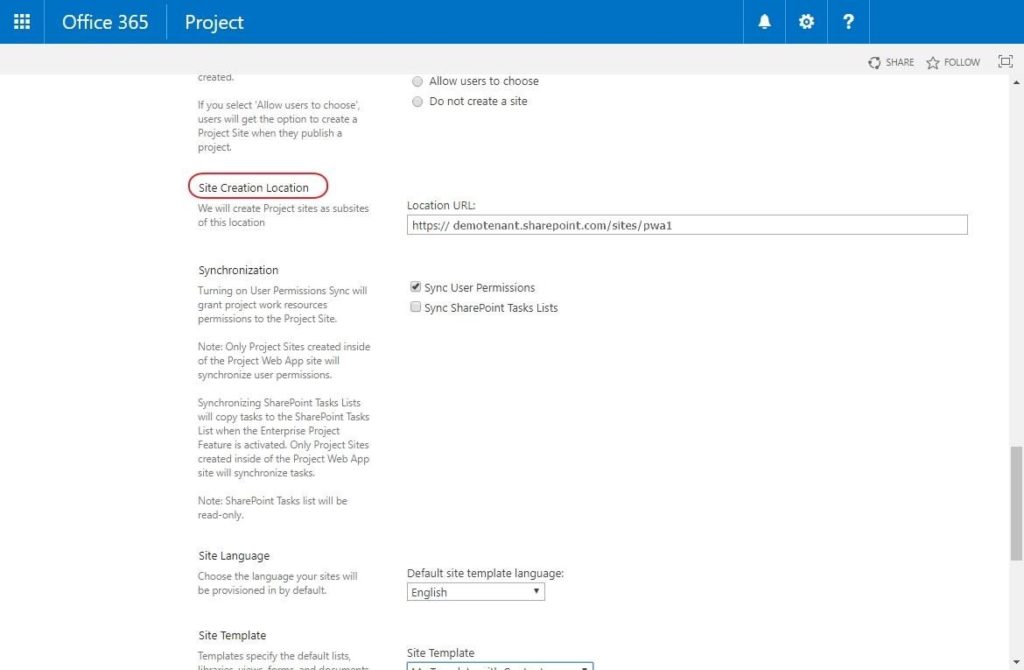
2. Update the Site Creation Location in the EPT of the projects, whose Project Sites you will be transferring.
Step 3 – Transfer Sites using FluentBooks
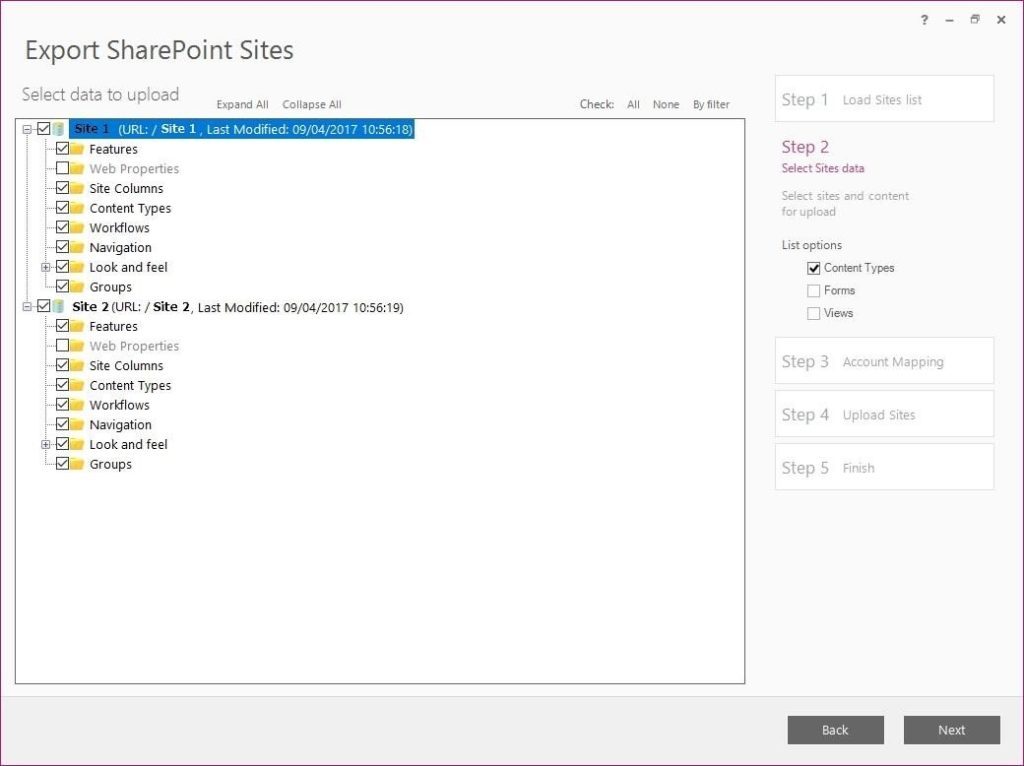
1. Download the required Project Sites into FluentBooks workspace using the ‘Download SharePoint Sites’ wizard.
2. Run “Upload SharePoint Sites” and choose to upload Subsites to the same PWA where Projects are located.

3. Select the Subsites to be exported by checking the checkboxes next to the elements.
4. Click ‘Resolve Site Templates by EPTs” on the next screen.
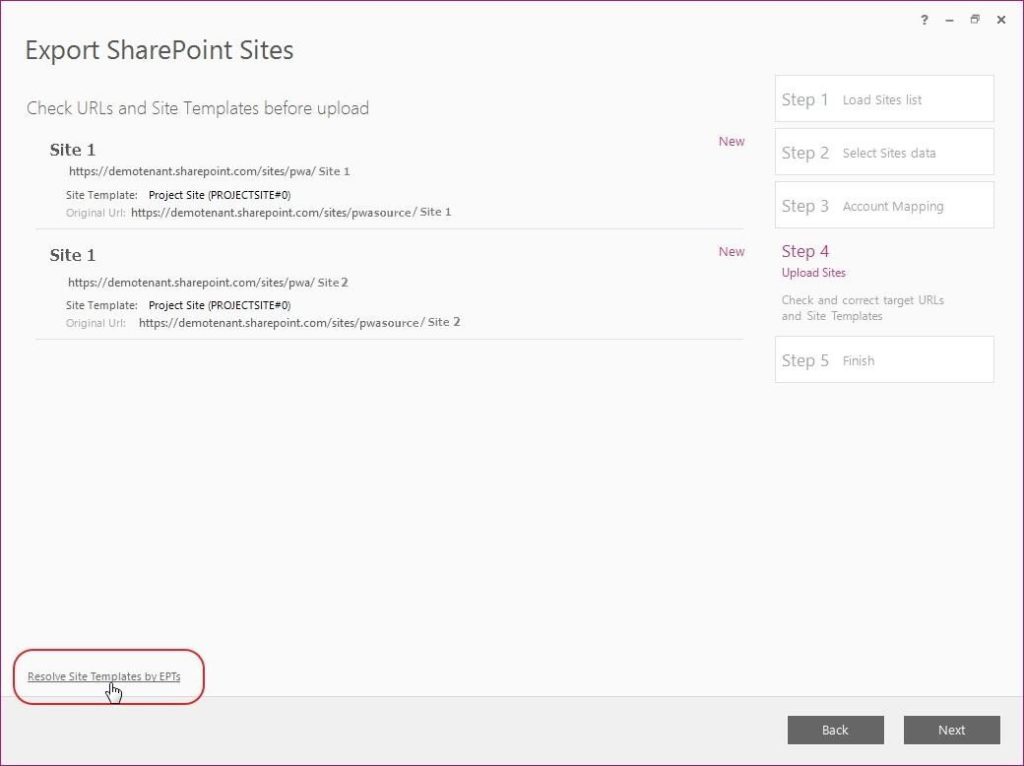
You will see that FluentBooks has resolved the correct Site Templates from the EPTs. Also, the URLs will change to reflect Site Collections set in EPT settings.
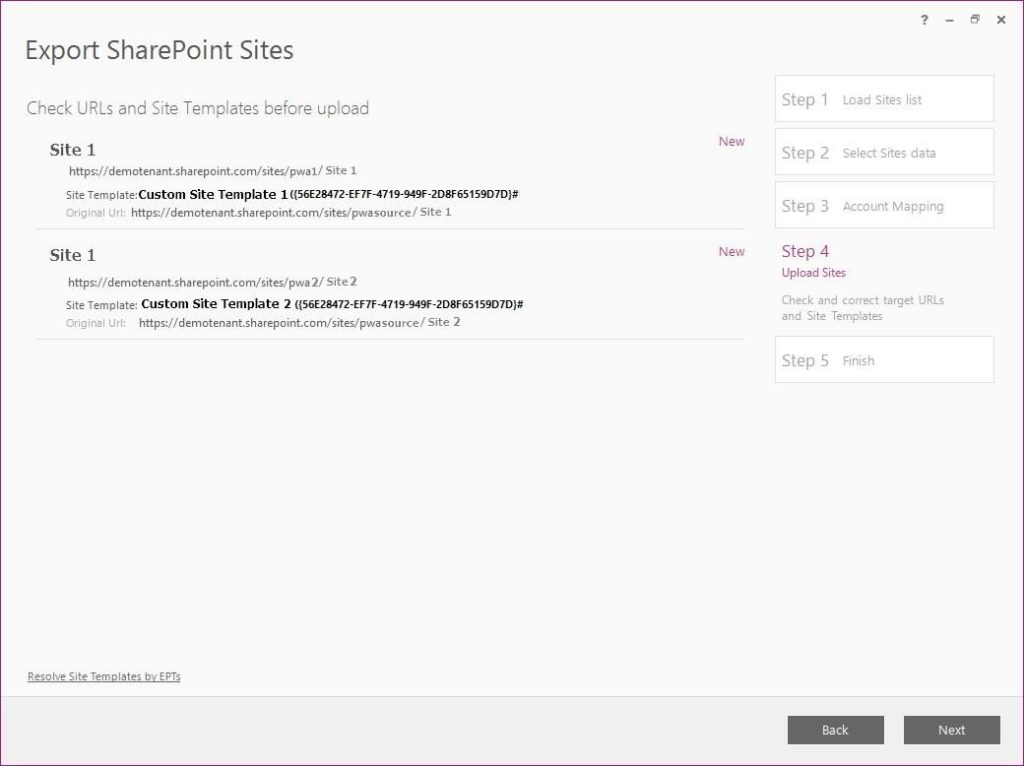
Allow the tool some time to upload your Subsites.
Step 4 – Verify that sites were migrated to the correct Site Collections
Navigate to the PWA where the projects are located → PWA Settings → Connected SharePoint Sites.
In the ‘Site Address’ column, you will see that the Site Address of the Subsite is now changed to your new Site Collection.
Benefits of Using FluentBooks for Project Online Migration of Project Sites
With over 12 years of expertise in simplifying Microsoft PPM solutions, the FluentPro team provides robust software automating Microsoft Project Online migration. Organizations can benefit significantly from using FluentBooks. Among many other benefits, they will enjoy:
- Automated migration and configuration management.
- Optimized migration to scale business performance.
- Time and money saving through process automation.
- Elimination of data loss and human errors.
- Successful migration of SharePoint sites, configuration data, and project sites.
Contact us
to get started with FluentBooks today